
 Bands, this is for you. This one I’ve been wanting to write for quite some time. If you’re not creating events on Facebook, please start. No matter how much everyone complains they hate it, Facebook is still the most-used social media site. Events are the easiest way I find local shows to add to the KWSS Concert Calendar. I can’t remember the last time I opened Bandcamp, and those events cross-post to Facebook too.
Since I use events on Facebook to add to our calendar, I see many ways to improve upon the information in the event. Here are some tips on how to create a Facebook Event that will tell everyone exactly what they need to know and get them to your show! Please note: This is for creating an event on a desktop and NOT your phone/tablet. I recommend creating this way, less room for error.
**Before you create an event, decide who is doing the creating. As you will see, there is no need to have several events for one show.
-
- Click on the “events” tab on your Facebook Page, then “create event.”
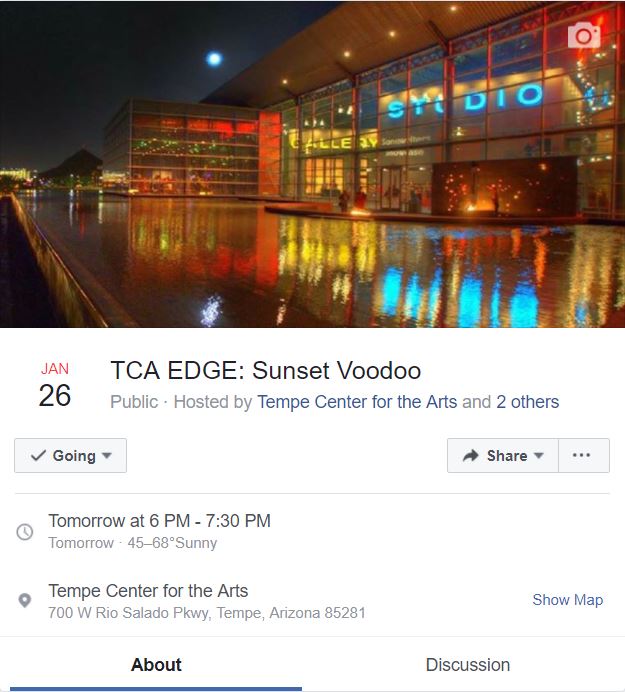
- Have an event photo. It will default to your Page’s cover photo, if that is relevant keep it. It’s better to have a photo specific to your event. Do NOT just post your flyer, it won’t fit. Make a version that fits and will look good on both mobile and desktop.
- If possible in your event title, put the band names. If nothing else add the headliner or band hosting the show. Do NOT just call your event “Local Show” or “Kate’s Birthday Show.” (There are 30 local shows every weekend, why is this one different? No one knows who Kate is, why would they care?) You can also save characters (there’s a limit) by leaving out the venue name. The next item to fill in is the location.
- Use the time the show actually begins as your start time, not when doors open. You can add when the doors open in the description. You never know if you’ll have a first-timer who will get there at 7 not expecting to wait an hour. Also have an end time, not every show ends at midnight or 1am. What if it ends at 11pm and someone shows up at 10:45 thinking the typical show ends at midnight? This is also helpful for those of us who show-hop while covering shows for their job. 😉
- In the description, add when the doors open, door price if they didn’t buy tickets prior, and list all the bands playing. Link to their Facebook Pages or websites. There is already a ticket link in the event, no need to re-post the same link. Later you can update the description to show set times. If anyone asks about set times, let them know the description is updated. It’s easiest for everyone to find, since not everyone sees every post in the discussion.
- Add some keywords, so your event comes up in search.
- Add the ticket URL!! If there isn’t one, let people know how they can purchase tickets to the show and link if you can. This is important if you use Bravo Tip Or Pay for tickets. Also add if it’s a free show.
- Add co-hosts! This is every band on the lineup, and the venue. You can also add individual people as co-hosts. This only helps widen the range of who will see the event. Do not create separate events for the same show. This involves communicating with the other bands and the venue.
I also have written about how to promote your Facebook event, because you can’t just create the event and then forget it’s there and expect people to show up.
I hope these tips help, you can always get in touch if you have additional questions. Now let’s party!